 ultimate-guide
Move Out Cleaning Checklist: Complete 2026 Guide
Table of Contents
- Why a Professional Move Out Cleaning Checklist Matters
- Security Deposit Cleaning Requirements You Can't Skip
- Kitchen Cleaning Checklist
- Bathroom Sanitation and Deep Cleaning
- Living Room, Bedroom, and Closet Cleaning
- Essential Move Out Cleaning Supplies and Tools
- How Long Does a Move Out Cleaning Take
- Professional vs. DIY: Cost-Benefit Analysis
- Frequently Asked Questions
Last Updated: September 29, 2026
Why a Professional Move Out Cleaning Checklist Matters
A professional move out cleaning checklist ensures you recover your security deposit and leave your rental in condition that satisfies your landlord's inspection. Most renters underestimate what "clean" actually means to a property manager. The difference between a cursory wipe-down and a thorough deep cleaning often determines whether you lose $500 or get your full deposit back.
Properties that pass inspection without dispute follow a systematic approach using a detailed checklist covering every surface, corner, and appliance a landlord scrutinizes.
This guide provides the move out cleaning checklist you need to protect your deposit, breaks down room-by-room requirements, and explains when to hire professionals.
Security Deposit Cleaning Requirements You Can't Skip
Your security deposit hinges on meeting your landlord's definition of "normal wear and tear." The rental agreement typically specifies what condition the unit must be in at move-out. Read this document carefully before you start cleaning. It often lists specific expectations: carpet shampooed, walls patched and painted, appliances cleaned inside and out.
The most common deposit disputes stem from carpet stains, kitchen grease, and bathroom mold. A professional move out cleaning checklist addresses these problem areas explicitly.
High-touch surfaces, light switches, door handles, cabinet pulls, and faucet fixtures, accumulate fingerprints and grime. Wipe these down with a disinfectant.
Document your work with photos. Take pictures of each cleaned room before you leave. If your landlord later claims damage you didn't cause, these photos provide evidence that the unit was clean at move-out.
Kitchen Cleaning Checklist
The kitchen is where most security deposit deductions happen. Grease builds up on cabinet exteriors, inside the oven, and on stovetop surfaces.
Clean the refrigerator interior by removing shelves and wiping walls and gaskets. For the oven, apply degreaser, let sit 15-20 minutes, then scrub interior and glass door. Clean the stovetop by soaking burner covers and grates in hot water with degreaser, then scrub and rinse.
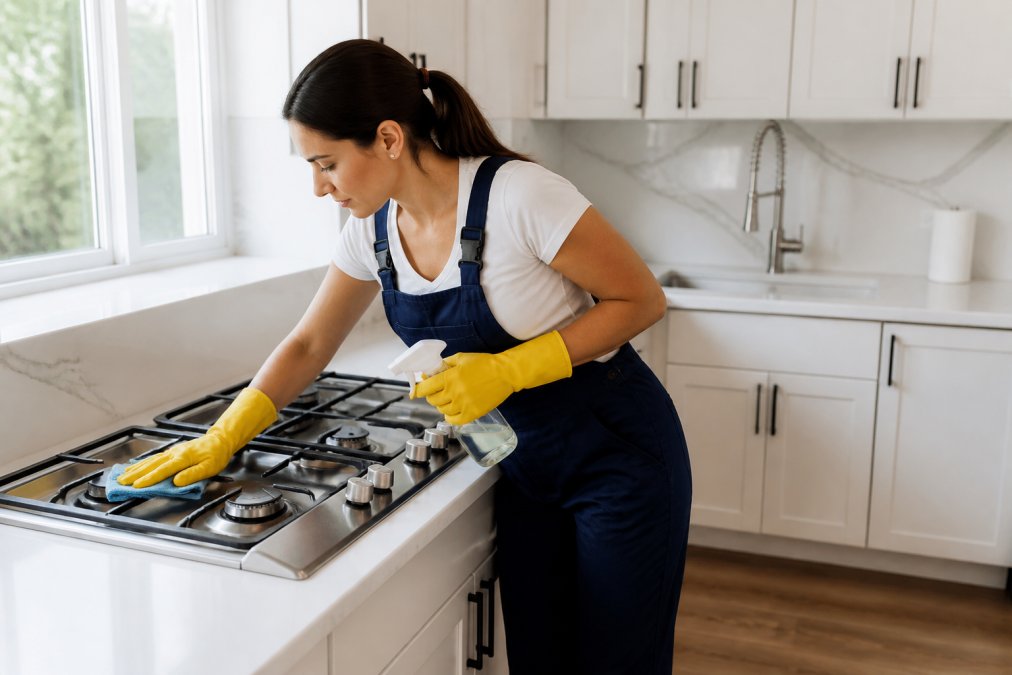
Remove and rinse the dishwasher filter and wipe interior walls and rubber seal. For the microwave, heat a bowl of water with lemon for 5 minutes to loosen splatters, then wipe clean.
Wipe all cabinet doors and drawer fronts with appropriate cleaner for the material. Clean cabinet undersides and tops of upper cabinets where dust settles.
Scrub grout lines between tiles with a small brush and mild bleach solution if permitted. Wipe the backsplash. Clean the sink basin, drain, faucet, and handles thoroughly.
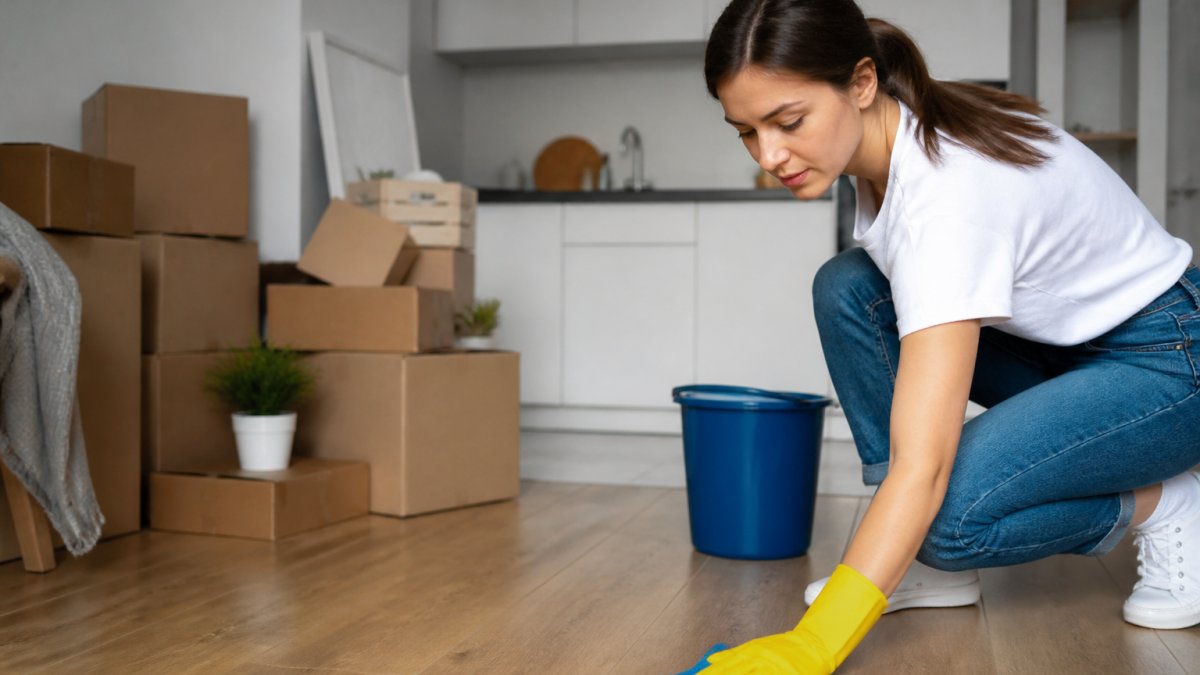
Floors are critical. Sweep thoroughly, then mop with appropriate cleaner for the floor type. Check baseboards for dust and wipe them down. Move any appliances that sit on the floor and clean underneath.
Bathroom Sanitation and Deep Cleaning
Bathrooms require aggressive sanitization. Mold, soap scum, and hard water deposits are dealbreakers in move-out inspections.
Scrub the toilet interior bowl and waterline with disinfectant cleaner. Wipe the exterior, base, tank lid, and seat thoroughly.
Scrub shower or tub walls, floor, and fixtures with bathroom cleaner or baking soda paste, paying attention to grout lines and corners. Soak the showerhead in vinegar solution to remove mineral deposits. Wipe faucet handles and spout.
The sink requires the same attention as the kitchen sink. Scrub the basin, faucet, and handles. Wipe down the mirror and any light fixtures above the sink. Clean the medicine cabinet interior if one is provided.
Check that the exhaust fan works, then clean the grille by wiping or vacuuming out dust.
Wipe baseboards, walls, and the bathroom door. Check for mold on caulking around the tub or shower and address it with a mold-specific cleaner.
Floors should be mopped with a disinfectant. Tile grout should be scrubbed if possible. Check for any water damage or stains that might indicate a leak and address them if you're responsible.
Living Room, Bedroom, and Closet Cleaning
Bedrooms and living areas require dusting, vacuuming, and wall inspection to assess overall care.
Dust baseboards, windowsills, ceiling corners, light fixtures, and ceiling fans with a microfiber cloth. Vacuum or sweep thoroughly, then mop hard floors.
Essential Move Out Cleaning Supplies and Tools
A basic toolkit covers nearly every surface in your rental. Eco-friendly alternatives work effectively while reducing exposure to harsh chemicals.
- Baking soda: A mild abrasive that scrubs without scratching. Use it as a dry powder on stovetops and ovens, or mix 3 parts baking soda with 1 part water to form a paste for bathroom tile, grout, and tub surfaces. Let the paste sit for 10-15 minutes before scrubbing for stubborn buildup.
- White vinegar: Cuts through grease and mineral deposits. Mix equal parts vinegar and water in a spray bottle for windows, mirrors, and faucet fixtures. For hard water stains on showerheads, soak them in undiluted vinegar for 30 minutes. Avoid using vinegar on natural stone or marble surfaces, as the acidity can etch them.
- Castile soap: A plant-based liquid soap that works as an all-purpose cleaner. Mix 1/4 cup castile soap with 2 cups water in a spray bottle for floors, countertops, and cabinet exteriors. It's biodegradable and safe around pets.
- Hydrogen peroxide (3% solution): An effective disinfectant for bathrooms and high-touch surfaces like light switches and door handles. Spray it on the surface, let it sit for 5-10 minutes, then wipe clean. It breaks down into water and oxygen, leaving no toxic residue.
- Lemon juice: The citric acid dissolves mineral deposits and grease. Mix lemon juice with baking soda for a natural degreaser on kitchen appliances, or use it undiluted on faucet fixtures and chrome surfaces.
How Long Does a Move Out Cleaning Take
A one-bedroom apartment typically takes 6-8 hours for a thorough move out cleaning checklist. A two-bedroom takes 10-12 hours. A three-bedroom takes 15-20 hours.
Professional vs. DIY: Cost-Benefit Analysis
The decision between DIY cleaning and hiring professionals depends on your time, physical ability, the deposit amount at stake, and your confidence in passing a landlord inspection. DIY cleaning costs only the supplies you buy, typically $50-$100 for a full toolkit. Professional cleaning costs vary based on property size and condition, but the investment often pays for itself if it secures your full deposit.
- Schedule the inspection in advance and confirm the date and time with your landlord. Be present if possible, your presence allows you to point out any pre-existing damage or clarify what you've cleaned.
- Provide documentation of your cleaning effort. Take before and after photos of each room. If you hired professionals, request a completion report or invoice that lists the services performed.
- Address any damage you caused before the inspection. Small nail holes can be filled with spackle and painted over. Larger damage may require professional repair, but addressing it proactively shows good faith and may reduce deductions.
- Get written confirmation from your landlord that the unit was clean and undamaged at move-out. This protects you if disputes arise later or if the landlord attempts to claim damage you didn't cause.
- Know your state's laws on security deposit returns. Most states require landlords to return deposits within 30-45 days and provide an itemized list of any deductions. If your landlord doesn't comply, you may have grounds to dispute the deductions.
Frequently Asked Questions
What should I include in a professional move out cleaning checklist?
A comprehensive move out cleaning checklist covers kitchens (appliances, cabinets, countertops, grout), bathrooms (fixtures, grout, tile, ventilation), all floors (vacuuming, mopping, baseboards), walls and light switches, windows and blinds, closets, and high-touch surfaces. Include degreasing appliance exteriors, descaling faucets, carpet cleaning, and sanitizing all surfaces. The goal is to return the property to move-in condition so landlords approve your security deposit return.
What are the security deposit cleaning requirements?
Security deposit cleaning requirements vary by state and lease agreement, but generally require the property to be returned in clean, undamaged condition. Landlords typically inspect for dust, dirt, stains, odors, appliance cleanliness, carpet condition, wall marks, and pest evidence. Document your cleaning with photos, keep receipts for professional cleaning services, and request a move-out inspection walkthrough to address issues before the final inspection. Review your rental agreement for specific cleaning standards your landlord expects.
How long does a move out cleaning take?
A professional move out cleaning typically takes 4-8 hours for a standard apartment or small home, depending on size, condition, and number of cleaners. A 2-bedroom, 1-bath unit usually requires 4-5 hours; a 3-bedroom home may take 6-8 hours. Deep cleaning (carpet shampooing, appliance descaling, grout scrubbing) adds 2-3 hours.
What cleaning supplies do I need for a move out cleaning?
Essential move out cleaning supplies include all-purpose cleaner, degreaser, disinfectant, microfiber cloths, vacuum, mop, broom, dustpan, toilet brush, sponges, scrub brushes, and trash bags. For deep cleaning, add carpet shampoo, grout cleaner, descaling solution for faucets, glass cleaner, and drain cleaner. Eco-friendly options like vinegar, baking soda, and hydrogen peroxide work well for natural cleaning. Wear gloves and ensure good ventilation when using chemical products.
What's the difference between DIY and professional move out cleaning?
DIY cleaning costs only supplies (typically $30-60) but requires 20-40 hours of labor and may miss problem areas, risking security deposit deductions. Professional cleaners cost more upfront but save time, ensure thorough cleaning with specialized equipment, and often provide accountability. For renters with tight schedules or those with expensive deposits, professional cleaning often pays for itself by ensuring deposit recovery. Consider your property size, condition, and deposit amount when deciding.
Should I clean inside appliances for move out?
Yes, cleaning inside appliances is critical for move-out inspections. Clean the refrigerator interior (shelves, drawers, coils), oven interior, microwave interior, and dishwasher filter and seals. Landlords inspect these areas closely because they indicate overall maintenance. Remove food residue, grease, and odors. Descale faucets and clean under sinks. These details directly affect whether your security deposit is returned in full.
What common move out cleaning mistakes should I avoid?
Avoid skipping high-touch surfaces (light switches, door handles, outlet covers), neglecting baseboards and window tracks, leaving grout dirty, and failing to deep clean carpet and upholstery. Don't assume 'clean enough' passes inspection, landlords expect move-in condition. Don't use harsh chemicals on delicate surfaces without testing first. Don't forget closets, cabinets, and storage areas. Document your cleaning with photos before leaving to protect yourself against false damage claims.